A smooth fade prints as a flat dark smear because the dots in the shadows grow into each other. You can see it coming before you press.
The film looked fine. The shirt didn't. Not your printer's fault, and not the film's. The gradient died in the file.
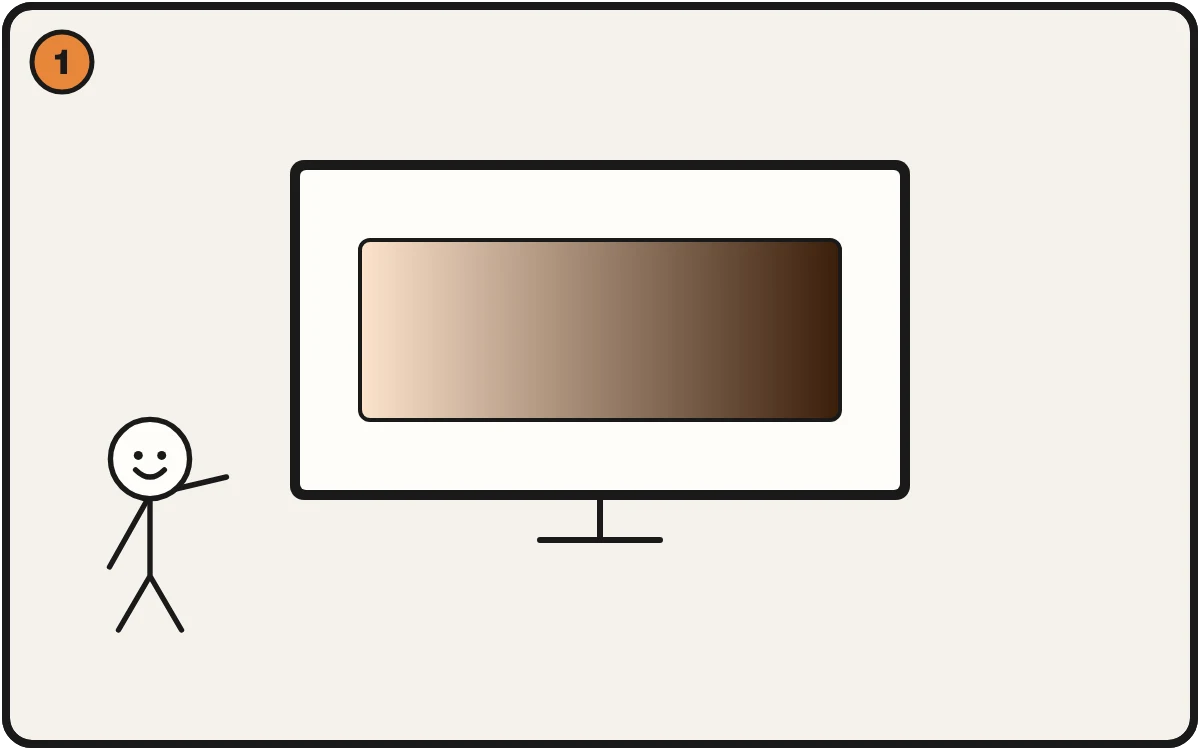
A smooth fade, light to dark. Looks perfect on screen.
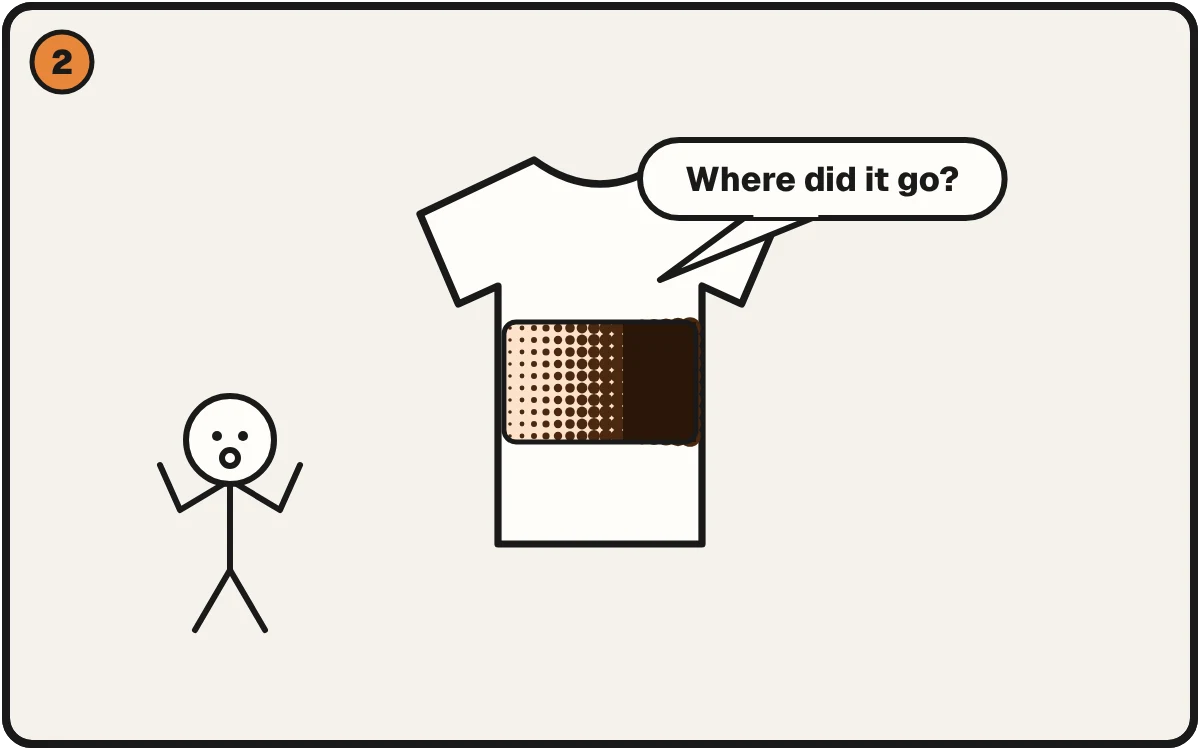
On the shirt, the dark dots grow into each other and turn to mud.
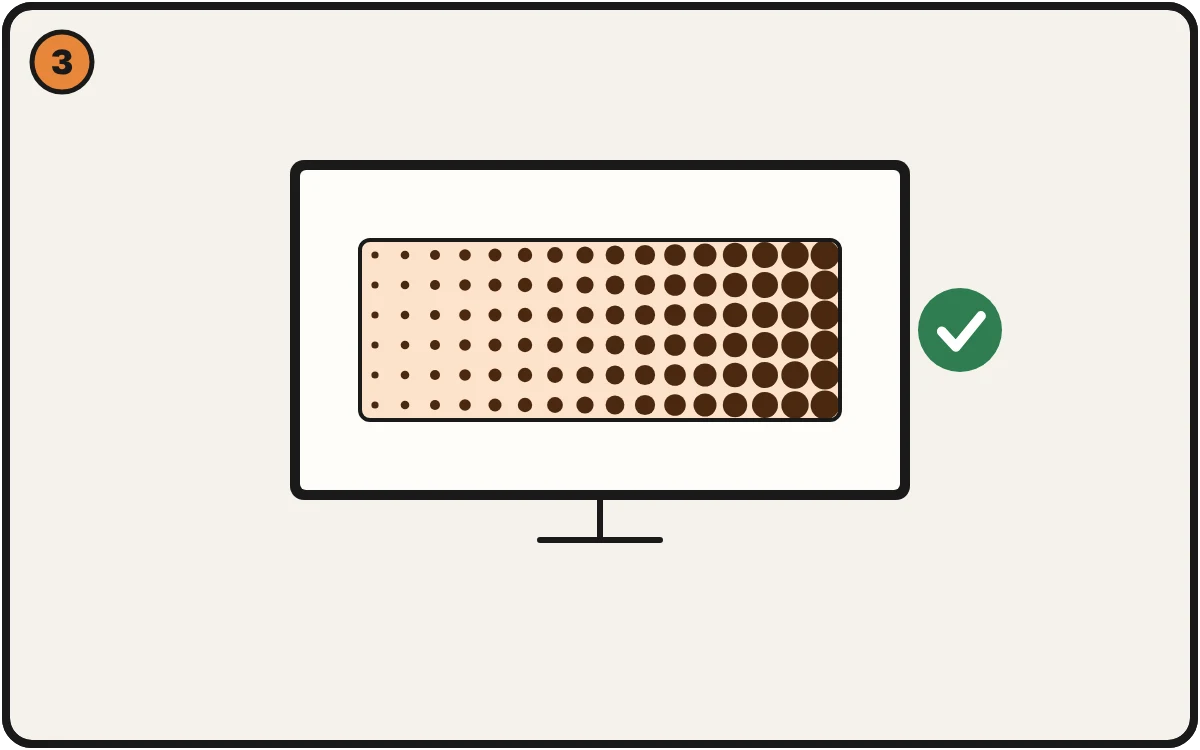
Fewer, bigger dots with room between them keep the fade open.
What a halftone is, in 60 seconds
A printer can't lay down see-through ink. A halftone fakes a soft tone with a grid of dots: small dots for light areas, bigger dots for dark ones. From a normal distance your eye blends them into a smooth fade.
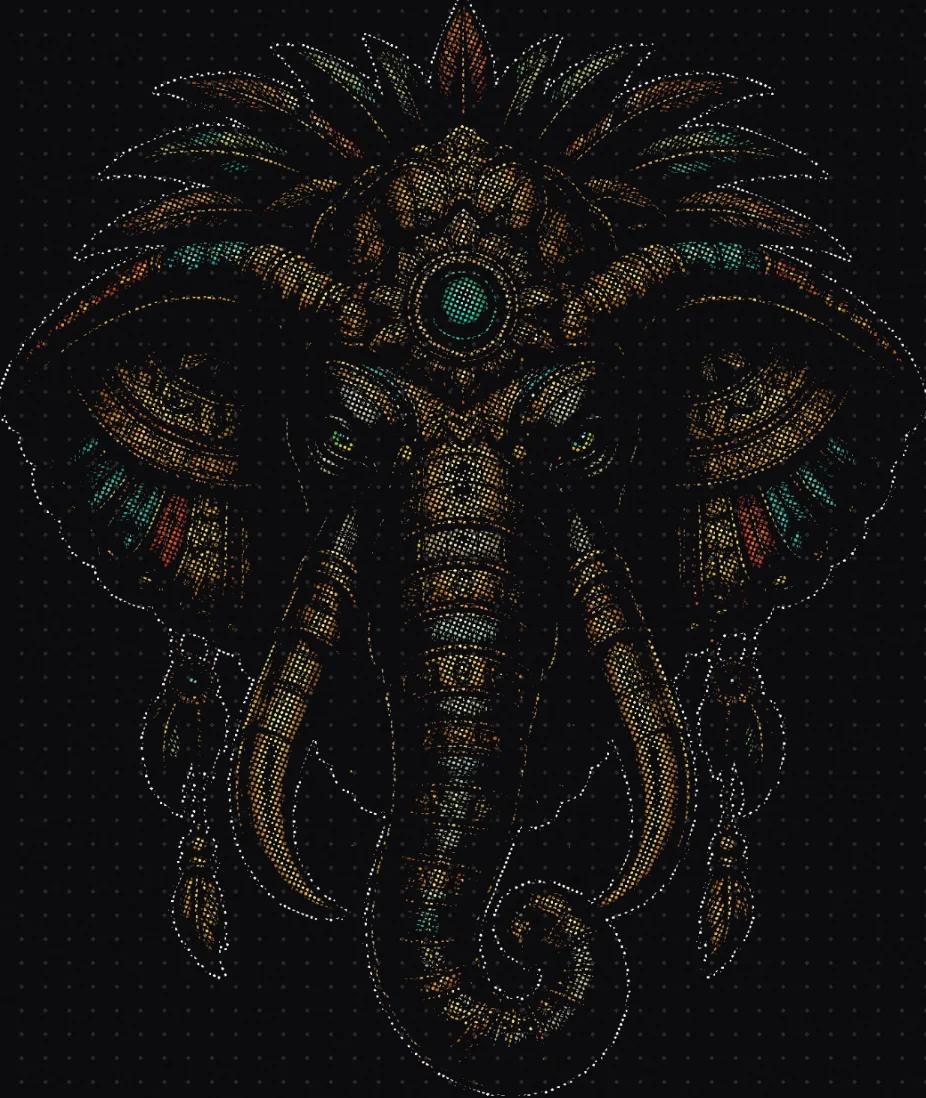
DTF has two extra reasons to want it:
- Soft fades are made of half-transparent pixels. A DTF printer can't print "partly there," so soft shadows and glows often come out as patchy haze.
- Big solid areas lay down a thick layer of ink and glue. Dots use less, so a big print usually feels softer. Powder and film affect the feel too.
Try it on your own file: drop a design into the free halftone tool. It runs in your browser, so your image never leaves it.
Why fades turn to mud
In the dark end of a fade, dots get big. Dots also spread a little on the film and in the press, more or less depending on your printer, ink, film and settings. Once neighbors touch, they become one solid mass, and every tone darker than that point reads as the same black. The bottom third of your gradient disappears.
Three settings that fix it
The free tool shows each one live, at full size, so the preview matches the PNG you download.
- Dot size. Large, Medium or Fine. Coarser dots leave more room before they touch. Large gives a vintage look, Medium suits most work, Fine holds crisp detail. Treat that as a starting point, not a rule. Try your own art at a couple of sizes.
- Ink level. More, Balanced or Less. Less ink keeps dots open through the press.
- Which areas stay solid. Shadows makes the darkest range solid on purpose, so it reads as clean black instead of half-clogged dots. Highlights drop out lets the shirt show through the lightest areas.
Soft edges and glows
Feathered edges and glows print rough for the same reason. Edges Only turns just the half-transparent areas into dots and leaves solid areas alone.
When the free tool isn't enough
The free page is the core dot engine. The editor goes further and picks halftone settings for your print method. If you're prepping one file, the free tool is usually all you need.
Check it before you press
Mud is predictable, visible in advance, and fixable in the file. Test a Fade Free.
More checks before you send a file: the DTF file checklist.
I build PrintReady Flow, including this tool, so I'm not neutral. The mechanics above are universal. If your software gives you dot size, ink level and shadow control, you can fix mud wherever you work.